These are the gifts I made for my MIL & SIL!
I decided to make them after having pinned this idea (version 2) over a year ago, and starting on my own bag in early December. Just to get to the point where the main parts of my bag were put together took the better part of 3 hours, and lots of input from my friends at the church's Ladies Craft & Sewing Night that I hosted! It was the first time I'd ever worked with interfacing OR done a pleat, but I learned so much! This project also combined my 3 biggest fears about sewing: gussets (no big deal at all), pleats and interfacing. Here's what I posted on Instagram about the progress on mine last month:
To be fair, none of these are perfect. But neither am I! I was intentionally wasteful with my "Paris" fabric (which I've had since last Christmas, planning to someday be brave and do this project), and I went ahead and cut it specifically so that the Eiffel Tower was centered. But I'm okay with that! In reality (and as we discussed at the craft & sewing night), I'll likely never use that same fabric for the same project again, anyway. So it's okay to be a little wasteful, and freeing not to have to line everything up so I'm saving as much fabric as possible! I like the pictures of my bag because they show the depth the other pictures don't (because I'm a Christmas picture slacker!)
I'll share more as I go...
 |
| Leah's bag - in front |
 | ||
| Ashley's bag |
This is the inside of Leah's bag:
 |
| That's my Kindle, in the custom 7.5" tablet pocket |
 |
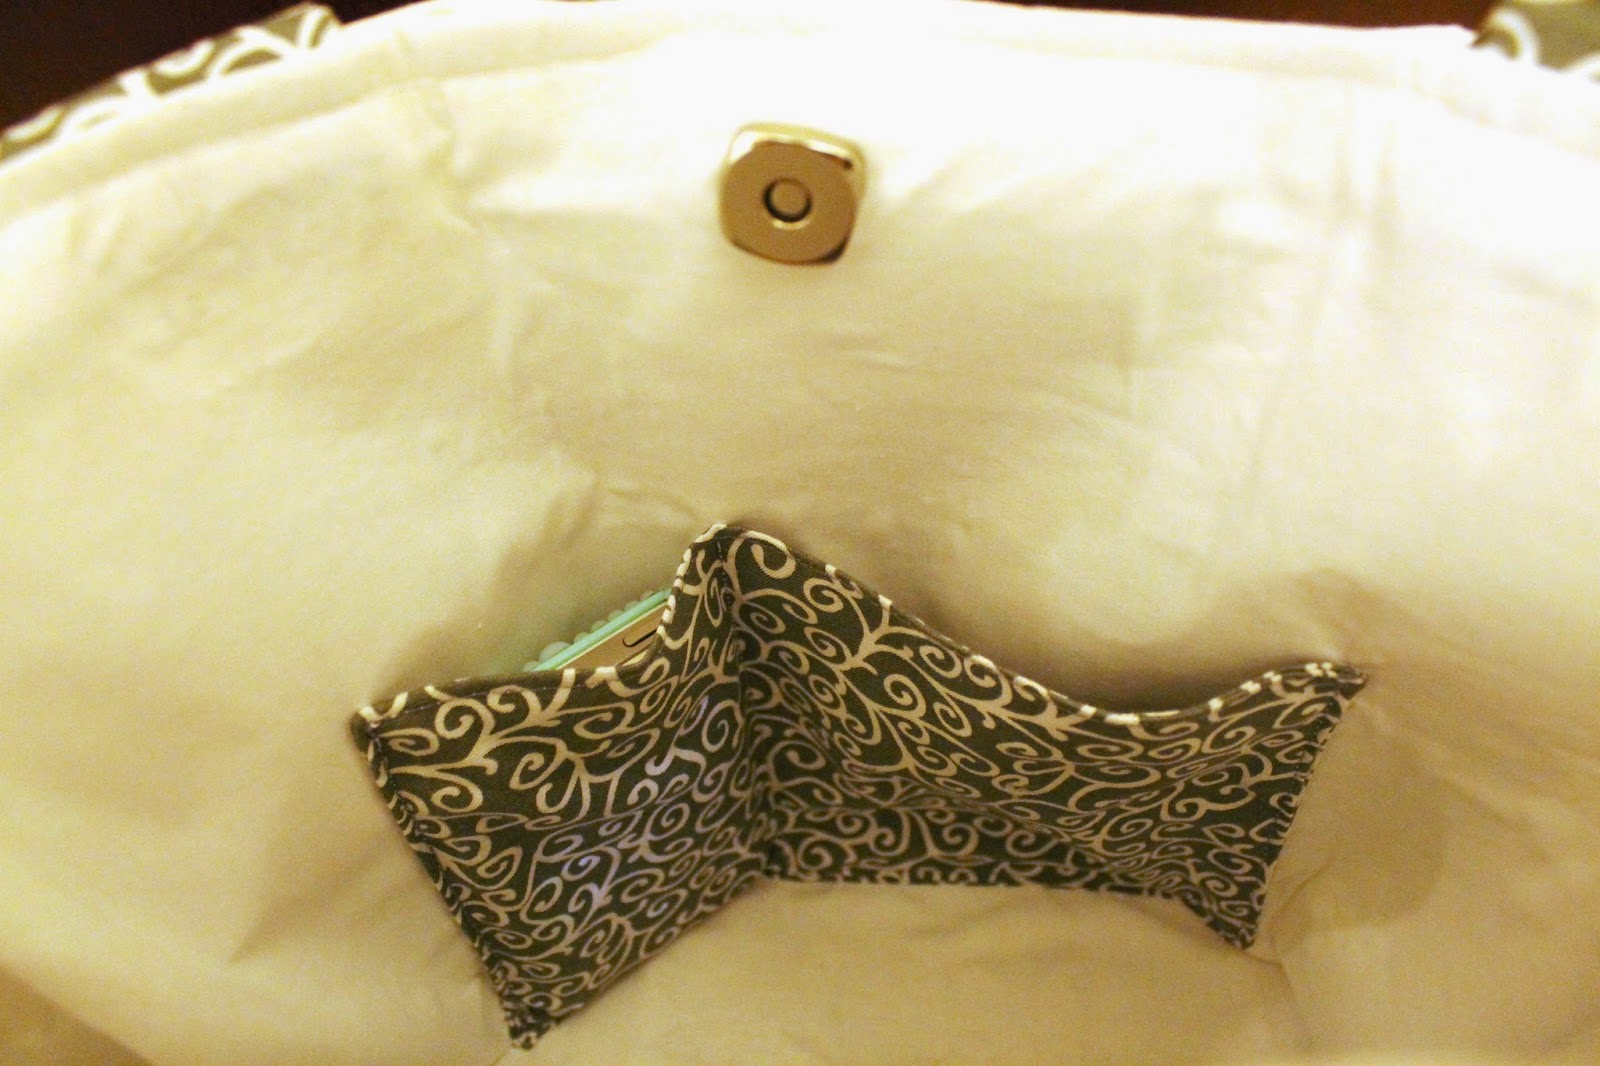
| My iPhone looks so small in the custom S5 pocket! |
 |
| There's my Kindle again! Ashley doesn't currently own a tablet, but I'm sure she will someday, or she can use this pocket for other random stuff! |
 |
| Ashley's custom S5 pocket & the other one, to be used for pens or whatever she wants. |
1) Interfacing is $1.37 per yard at Wal-Mart. The same (Pellon 808) interfacing is twice as much at any other fabric store (I got a lot of mine at JoAnn's). I have problems shopping at Wal-Mart, but for half the price for the same exact product, this may be a better option. When price is a concern, go for the cheapest.
2) Buy twice as much interfacing as you think you'll need. If you're anything like me, you'll mess up (I did, on my bag and Ashley's), and you'll have to pull it off and start again. Interfacing is mildly forgiving, and in my (limited) experience, you'll want backups.
3) Interfacing is not very wide! Again, purchase more than you think you need.
4) No matter what, do not purchase interfacing (at least, not medium - 808ish -) interfacing if it is wrinkled. No matter what a clerk tells you, it will NOT iron out completely flat! I ended up having to pull up soooo much interfacing because it caused the fabric to seize up and adhere to the wrinkles instead of ironing the interfacing flat. I know, I know - maybe my iron was the wrong temperature. Perhaps. But I don't think that was the case, since I tried it on 4 different temperatures (and I have a top-of-the-line iron). So when you buy it, make sure it's nice and flat. If the bolt that it's on is obviously wrinkled, get a new one. You're the customer; it's your money, so get the right product the first time!
5) Never, ever iron interfacing against the sticky/ shiny side. Essentially, the shiny side adheres to the fabric. I accidentally got about 1/4" tucked under the side I was ironing on mine, and it burned and smelled awful. Thankfully, I didn't make a bigger mistake! But make sure you iron on top of the interfacing - the NON-shiny side - with your fabric facing you upside-down. (Blech, that's super confusing, so if you're confused, email me!)
On to the pleats!
You can't tell when you look at the bag, but it's about 1/4" off-center on the pleat.
I learned that you have to line everything up perfectly on the pleat, otherwise none of the rest of the bag comes together right. It looks beautiful no matter what, but make sure you get everything lined up to the 1/8" in if you're doing a centered pleat!
About the bows...It truly is the most beautiful part about these bags! To say that the bows weren't necessary would be a lie! They make the bag what it is! I absolutely loathed dealing with all the interfacing and the seams on the bows, probably because I'm inexperienced with interfacing. And I was making this bag twice, lol. But it was worth it!
I'm pretty sure my MIL & SIL liked the new handbags, and I may be selling them in my shop sometime... soonish... we'll see.
 |
| This is Leah, opening her bag! |
 |
| Ashley, checking hers out after she unwrapped it! (I missed the actual unwrapping, because my daughter was pining for my attention!) |
I felt like I had a little bit more liberty with Ashley's to go a bit bold, but with Leah's I wanted to be professional, since she's always on the go for her new career! They both suited each of them perfectly. :)
Stay tuned for more posts about Christmas! (And Maui, and other stuff, lol)


